
 I stayed up late last night drawing crosses, and this morning I have scanned a couple into my computer to create patterns which will eventually be used for fabric. I got off on a tangent playing with image adjustments in Photoshop. I'll admit that the Gradient adjustment is still a major mystery to me. Definitely in the realm of magic. Amazing stuff happens but the results can neither be explained nor duplicated at a later time.
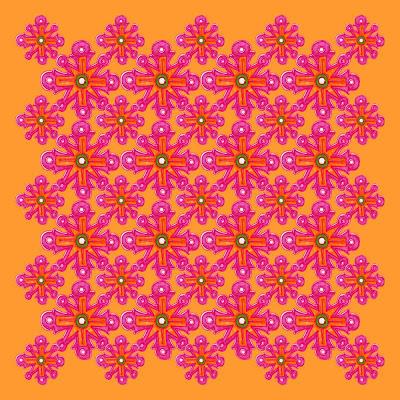
Above is the repeat "quilt" pattern I created by cutting and pasting two sizes of my original cross onto a grid. To get the cross independent of its white background, I clicked on the background with the magic wand tool to select it. Then I chose Inverse under Select to get the cross area which I could then cut and paste into a new document. The new document was first given a background color layer of tangerine, created by selecting the color at the center of my original cross with the eyedropper tool.

In the example above I chose Image - Adjustments - Equalize and the result was a wonderful intensification of the colors.


The example above on the blue background was achieved by Image - Adjustments - Invert. This is a way to achieve dramatic results in one simple step.
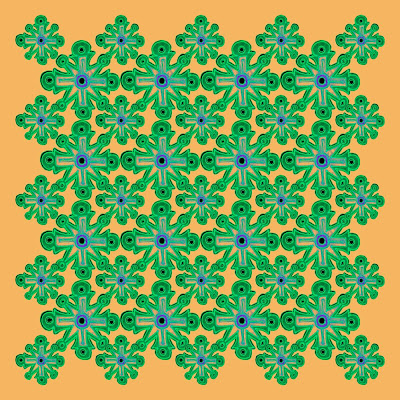

I further manipulated the inverted version by replacing the blue under Enhance - Adjust Color - Replace Color.
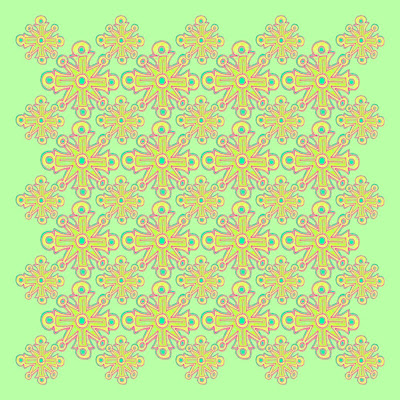

I started with my original "quilt" and messed about with the gradient adjustment to achieve the lovely spring-like combination of colors shown above.
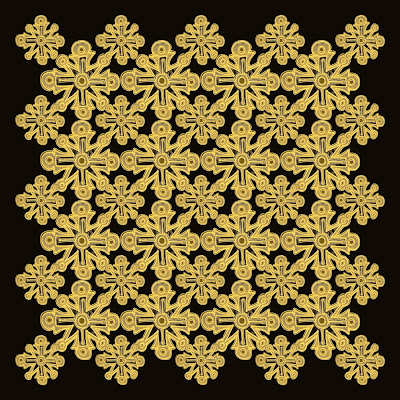

In the example with the black background I changed the Gradient type to Noise and set Roughness to 56.
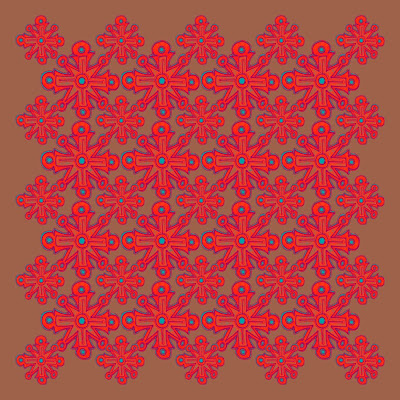

The brown and red example above is perhaps my favorite of all the Gradient manipulations.


Here's a more toned-down lighter version. Pretty, but not visually exciting.


Can't quite remember how I achieved this cheerful version, above.


These last two in black and white were done in Image - Adjustments - Threshold. The lighter version above has Threshold set to 117.


And the darker version has Threshold set to 135. I can anticipate using these black line versions as layers. I need to work on achieving transparency of background and figure out how to change the black to some other color.


No comments:
Post a Comment